How to Avoid Value Engineering From the Start
Managing a project is tough enough without watching your designs get stripped down to cut costs. For project managers and general contractors, value engineering often feels like a necessary evil, but it doesn't have to derail your vision. In the very beginning, you can cut costs by choosing standard pan sizes, round drains, and forgetting the shower niche - just to name a few options available to you.
When carefully planning your showers upfront, you can protect your bottom line - and avoid wasted time, renegotiations, and scope creep. Keep your project on track and your design intact. Here are ten easy ways to prevent value-engineering setbacks after months of hard work.
1. Stick to Standard Pan Sizes
Don't reinvent the wheel—choose from standard shower pan sizes and design your walls to fit the pan. For showers, typical sizes include 36” x 36”, 36” x 48”, and 36” x 60”. By choosing a standard size, you avoid the added cost and lead time of custom fabrication. This makes your project both quicker to install and more affordable.

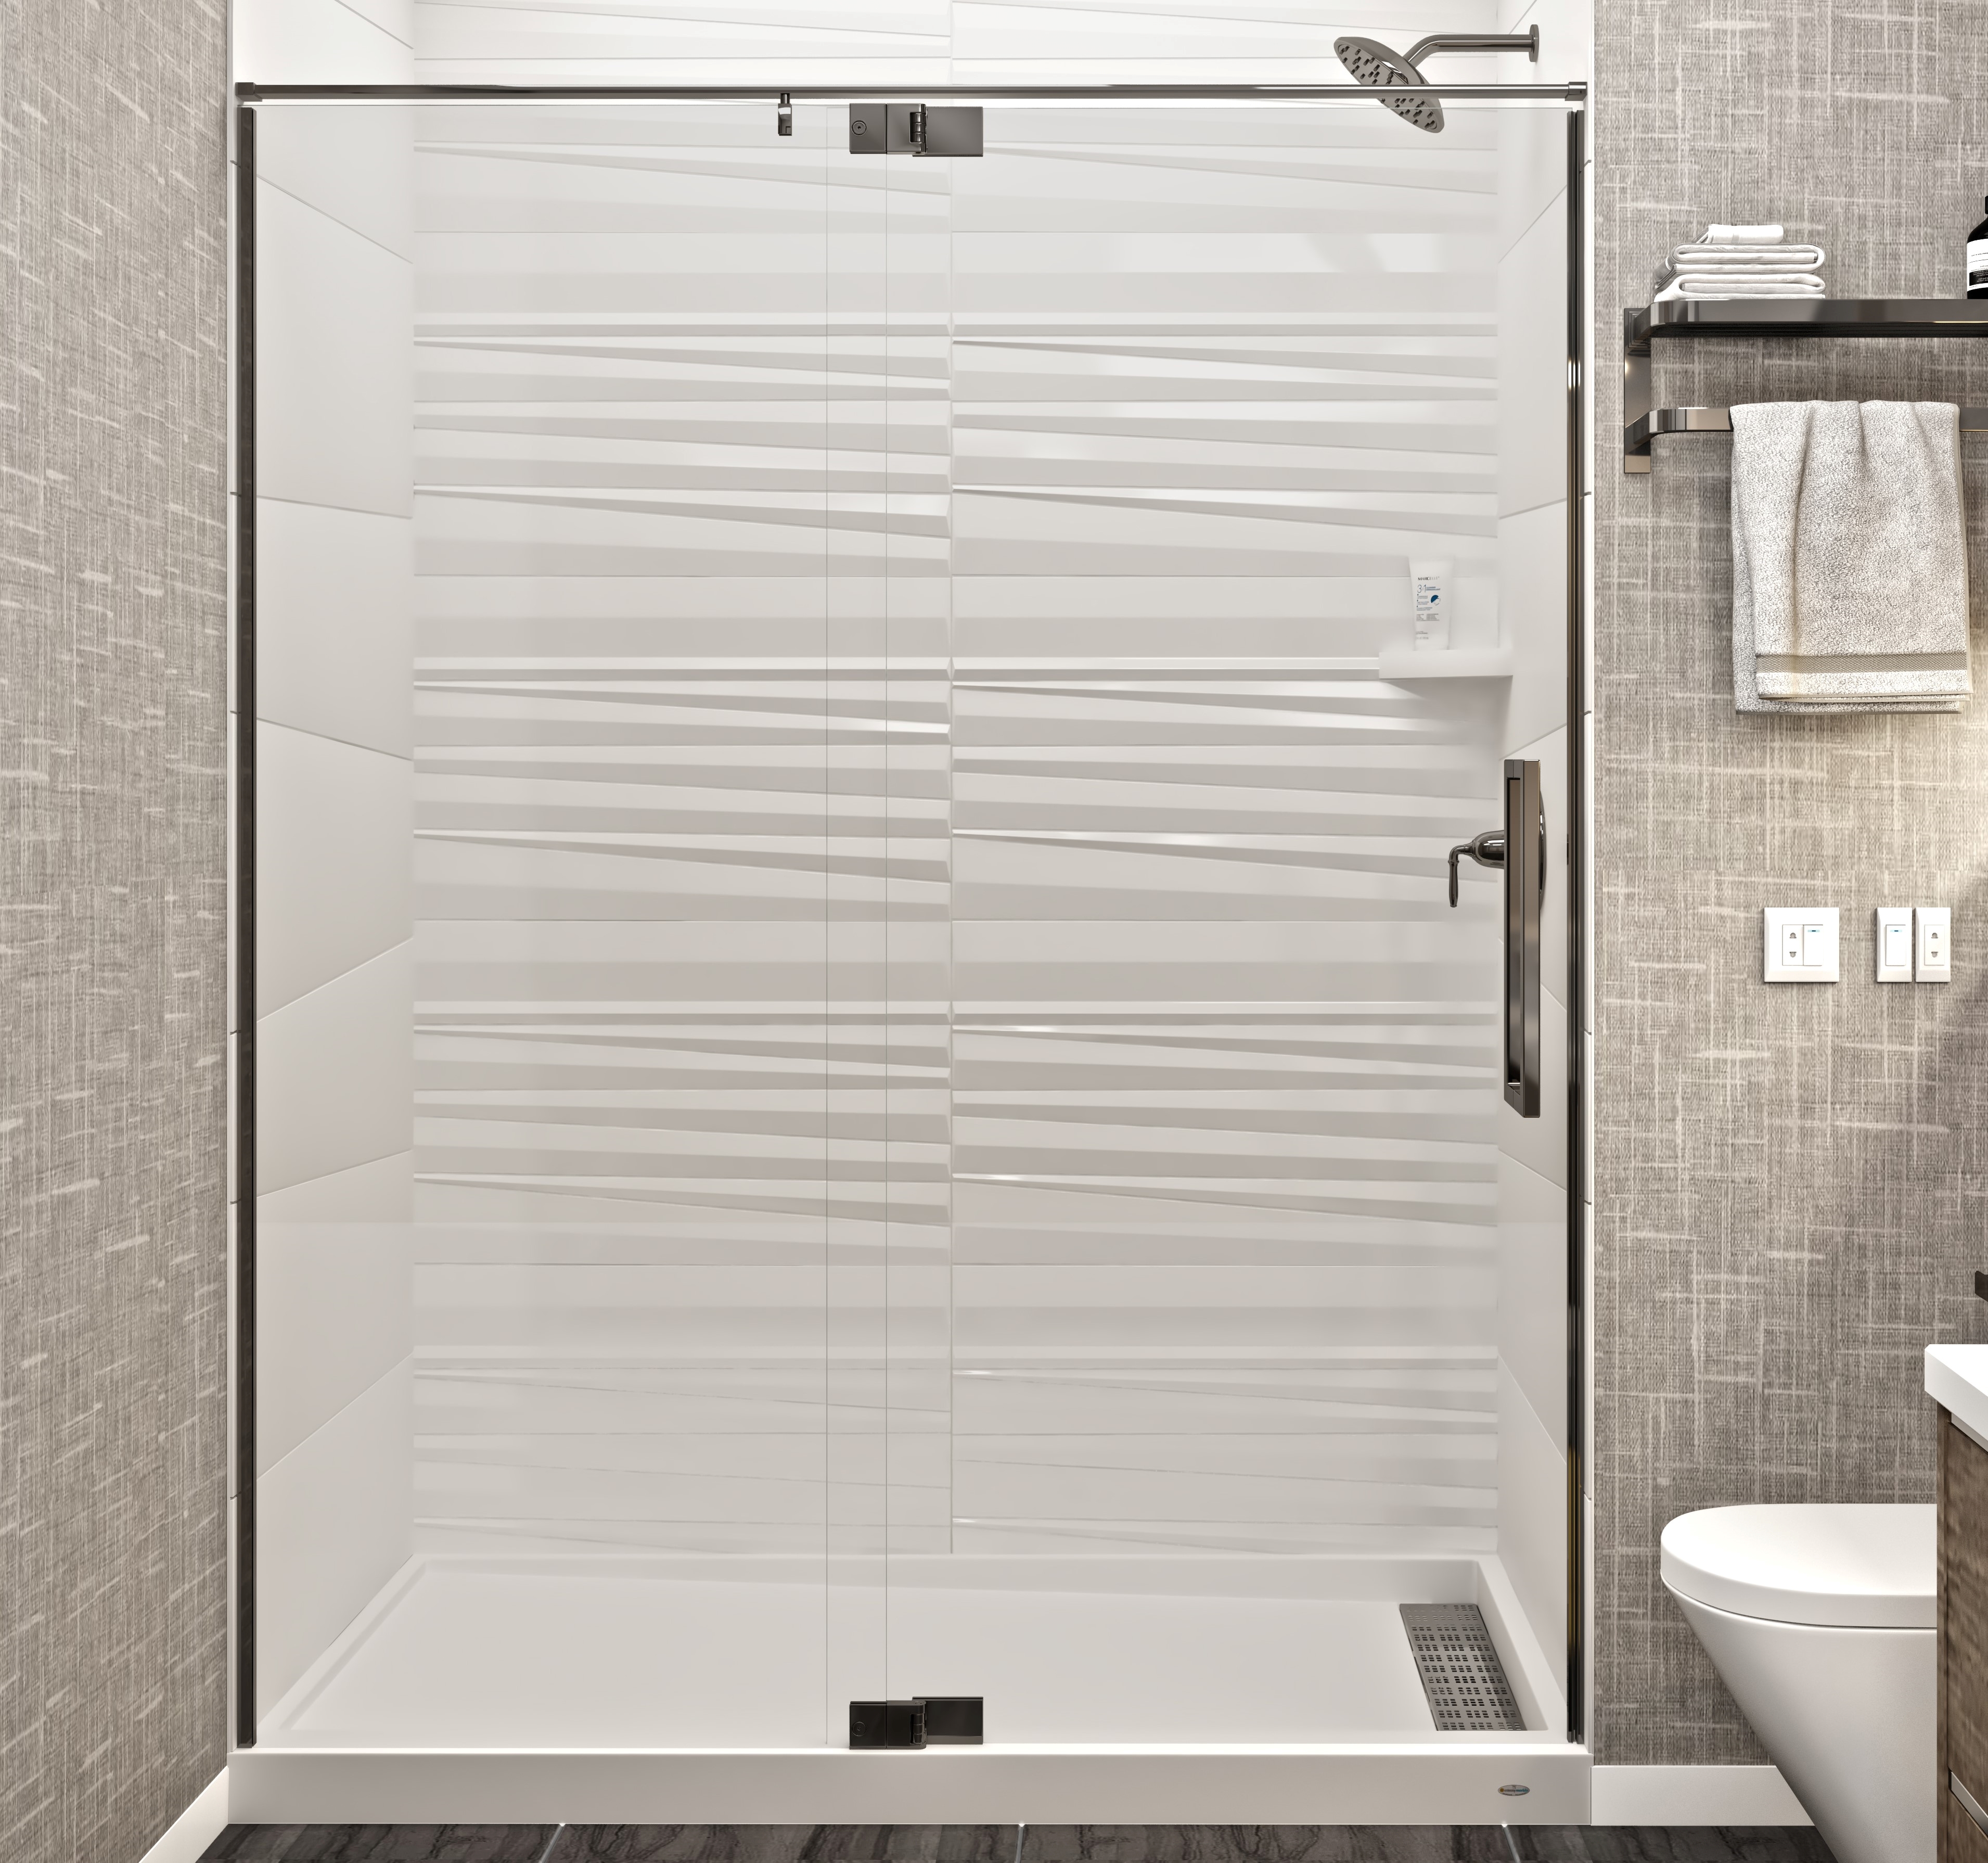
2. Choose Round Drain Pans Over Trench Drains
Trench drains do look sleek, but they come with a higher price tag. Their long, heavy gauge stainless steel covers drive up costs. A shower pan with a round drain, however, is simpler and more budget-friendly.
If you prefer a drain away from the pan's center, many standard pans are available with offset round drains at no extra cost. This offers great functionality and a classic look while keeping your expenses in check. When affordability is a priority, round drain pans are the smarter choice.
Read more about drain locations
3. Select the Right Pattern Size to Reduce Waste
To save on material costs, match your panel selection to your dimensions as closely as possible. Panel patterns are available in different widths and heights, and some have fewer choices than others. Choosing a pattern that best fits your shower size reduces waste by avoiding excess material. This saves money and reduces environmental impact.
Be sure to check mold sizes for each wall pattern to guide your design decisions (found on each product page). For example, if you have a 36” x 48” shower, select a pattern with similar widths. If you choose a pattern that only has 30” and 60” widths, you'll need to order the larger size for the product to be cut in the field.

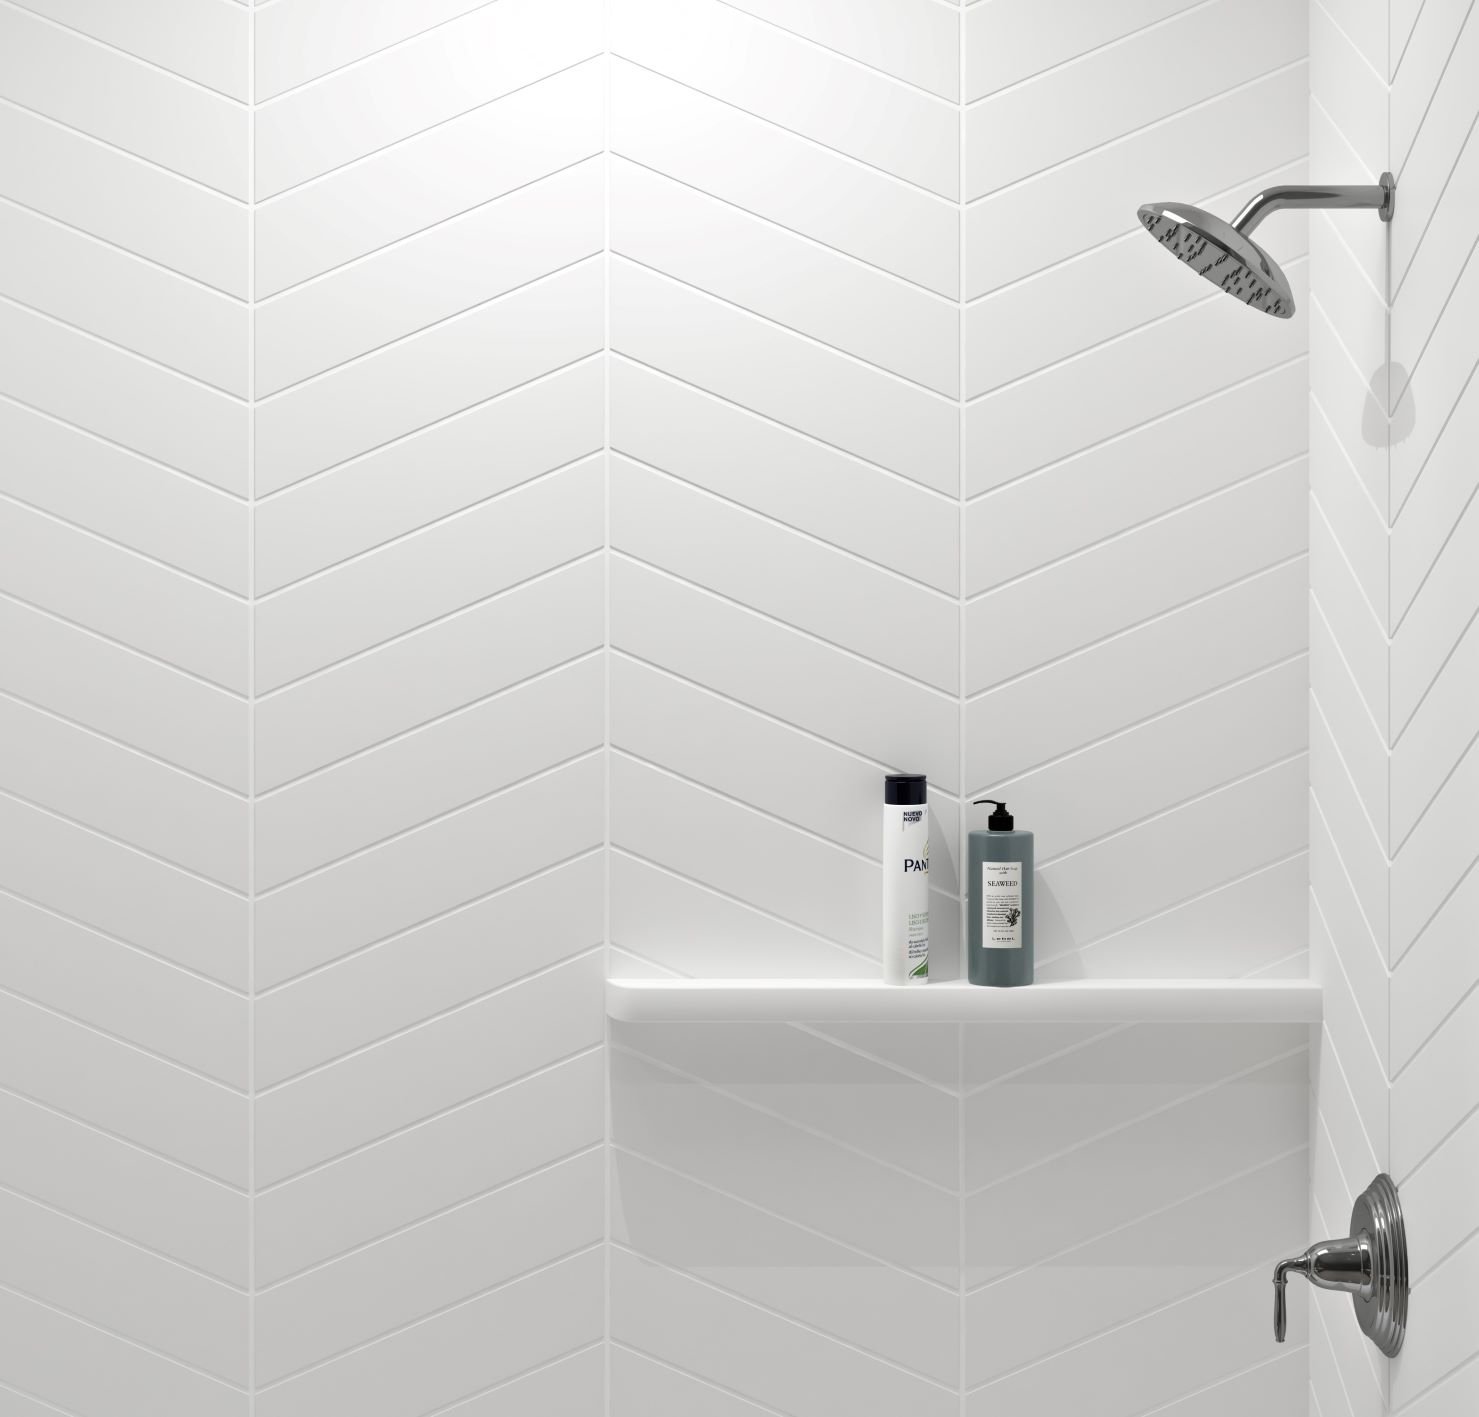
4. Opt for a Shampoo Shelf Over a Niche
While niches can be a nice touch, they usually cost more due to installation. Shampoo shelves, on the other hand, are less expensive and more practical. The larger shelves offer more storage space than niches - and without the hassle.
Mincey Marble offers a variety of shelf options, ranging from smaller, 7” corner shelves to larger shelves that are 27” and 30” long. These fit into any shower design and provide excellent value.

5. Shrink the Shower Door Opening
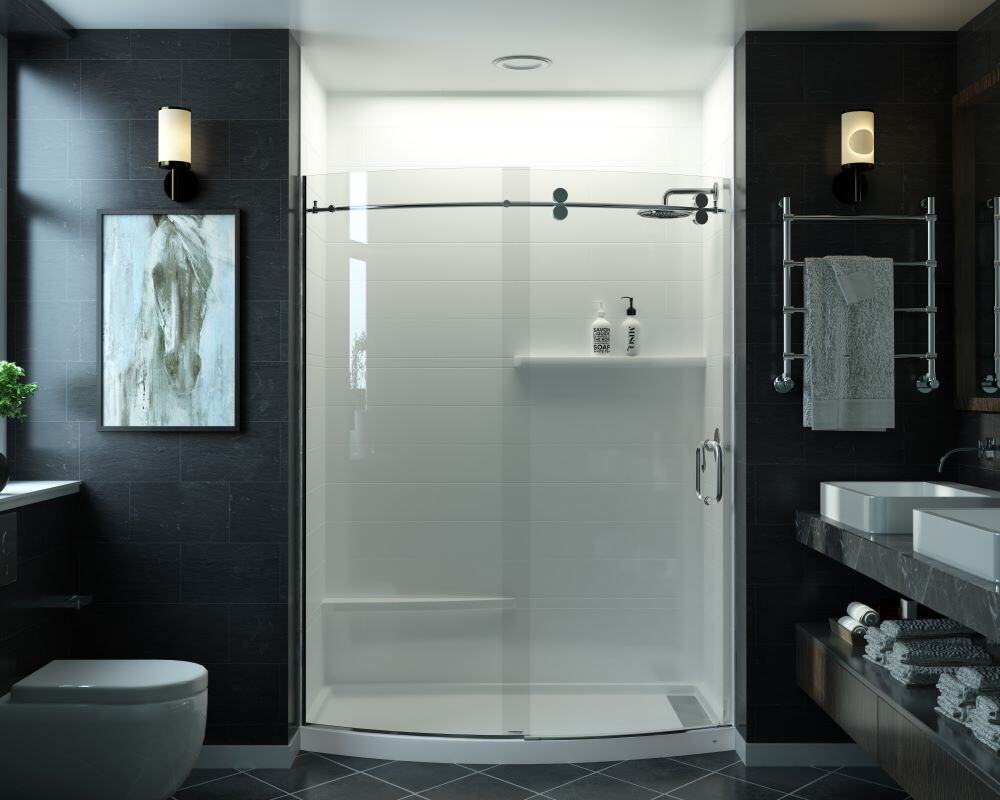
If your project is new construction, do you really need a 30” x 60” shower? A 36” x 48” shower offers plenty of showering space but requires less material and a smaller door. The size of your shower door can have a surprising impact on costs. A smaller opening, like for a 36” hinged door or 48” sliding door, is less expensive compared to a larger option like a 60” bypass door. Design around a smaller opening and decrease your door costs.
6. Stop Your Panels at the Pan's Edge
The edge of the pan or tub is the ideal stopping point for wall panels. However, we sometimes see installations where panels extend 3-4 inches beyond the front apron of the pan or tub. This requires ordering full-height side panels and cutting them on-site to fit the extension. Not only does this increase material costs and result in unnecessary waste, but it also adds labor and compromises the strength of the panel’s corner. To maintain efficiency and integrity, end your panels just before the curve as indicated below. If you need extra material to cover gaps or repair damaged walls during a renovation, consider using a 2-inch marble trim strip or a door jamb outside the tub or shower instead.

7. Run Material to the Ceiling in Tub Surrounds
With standard 8’ ceilings, you will not save money by ending the cast marble below the ceiling. Leaving exposed drywall requires extra labor to finish the area properly and re-paint, eating into your savings. It can also risk damage by your trades to the installed tub or shower.
Running the material up to the ceiling may add $50 in material cost, but it saves on labor costs. It also creates a polished, high-end look and enhances the resemblance to tile. Plus, it makes the shower space seem bigger.
For ceiling heights over 8’, specify the maximum panel height. Adding panels that run to the ceiling and seaming on three walls doubles labor costs and uses more material. Consider lowering the ceiling height in the shower to ensure your walls are clad to the ceiling.

8. Ditch the Return Wall
In renovations, return walls in showers are often removed to open up the space. In new construction, when one is added, it requires additional labor and materials to enclose the space. A return wall also requires a custom shower pan (more costs) to ensure the flange continues across the front of the pan. A separate curb is also installed, and the wall needs to be finished with a door jamb.
Installation can be a challenge too. Depending on the size of the shower opening, it can be difficult to get the back panel inside the space for installation. To save time and money, the best option is to design a three walled shower with a glass door spanning across the front.
9. Specify the Proper Substrate
Cast marble installs differently than tile. Panels are dot-mount glued directly to a water-resistant sheetrock like green board or purple board. Cast marble surrounds do not need cement backerboard or waterproofing membranes. If this isn’t corrected in the spec, bidding contractors will price these unneeded materials, driving up the shower estimate. Don’t forget to eliminate the waterproofing membrane for a true cost savings.

10. Include Certified Installers in the Spec
Make it easy for the general contractor to find the right installer. Don't risk getting overpriced bids from installers who don’t regularly work with our product. Our product isn't installed like tile and doesn't require the same amount of labor or materials.
Keep it simple and add a link to our certified installers in your specification. Certified installers know how to do it right, giving you accurate bids and the best installation.
PLUS, Don't Forget Shower Pan Covers!
Shield your shower pans from debris, dirt, paint, and grout during the construction phase. Once the work is done, just remove these protective covers—no need for deep cleaning or costly repairs. We highly recommend adding these to your order. These covers aren’t a profit-driven product for us. They’re made to protect your investment and prevent reordering due to chipped or paint-stained pans.
See some examples of why you need them

Save Smart Without Compromising Quality
From the beginning, you can lower your costs with thoughtful design choices. Plus, these decisions often streamline the entire bidding and installation process, saving both time and effort. Keep these tips in mind for your next project, and enjoy a beautiful result that respects your budget!


