With all the advantages that cast marble shower panels offer, it’s not surprising that more commercial contractors are turning away from other materials like tile. Not only is panel installation and maintenance so much easier (they are groutless, after all!), but even the specification and ordering process is simple. And to make it even more painless, we've compiled a short list of things to keep in mind when ordering panels for your project.
Want to learn more about shower surrounds? Check out our shower wall panel guide.
Step 1: Choose Your Design
You can start by shopping for the best design options for your property. (Hint - you can also narrow down what patterns are available to you by measuring your space first). When selecting designs, consider the overall aesthetics of the guest room, bathroom, and property. The chosen pattern should complement the existing ambiance.
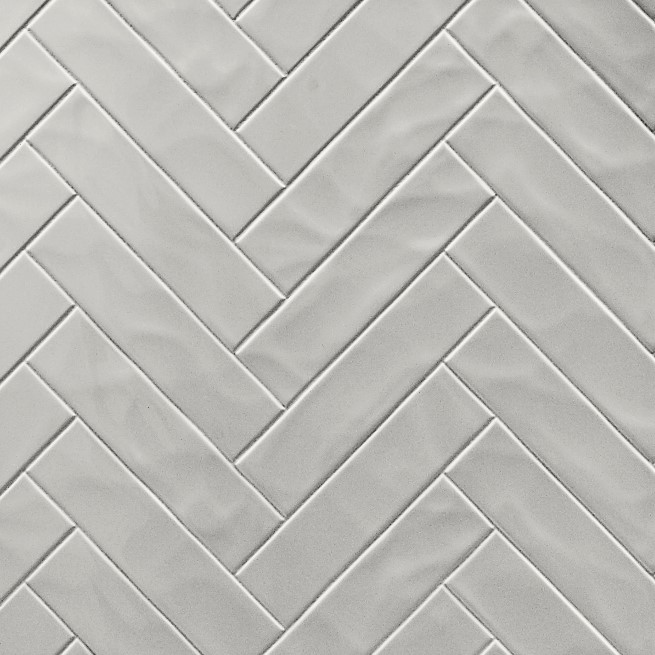
And there is a design for just about any environment. The crisp lines and angles of geometric designs can give your bathroom a clean, sharp look. Tile-like patterns can bring a sense of timeless elegance and sophistication to the space.
Don't forget the finish can make just as big of an impact as the design. Textured finishes (like Linear Vision above) add depth and character to the bathroom. They can also hide minor imperfections and scuffs, making them ideal for high-traffic bathrooms. On the other hand, gloss surfaces offer a smooth and shiny surface that reflects light, making your bathroom appear spacious and bright.
Step 2: Determine Panel Height
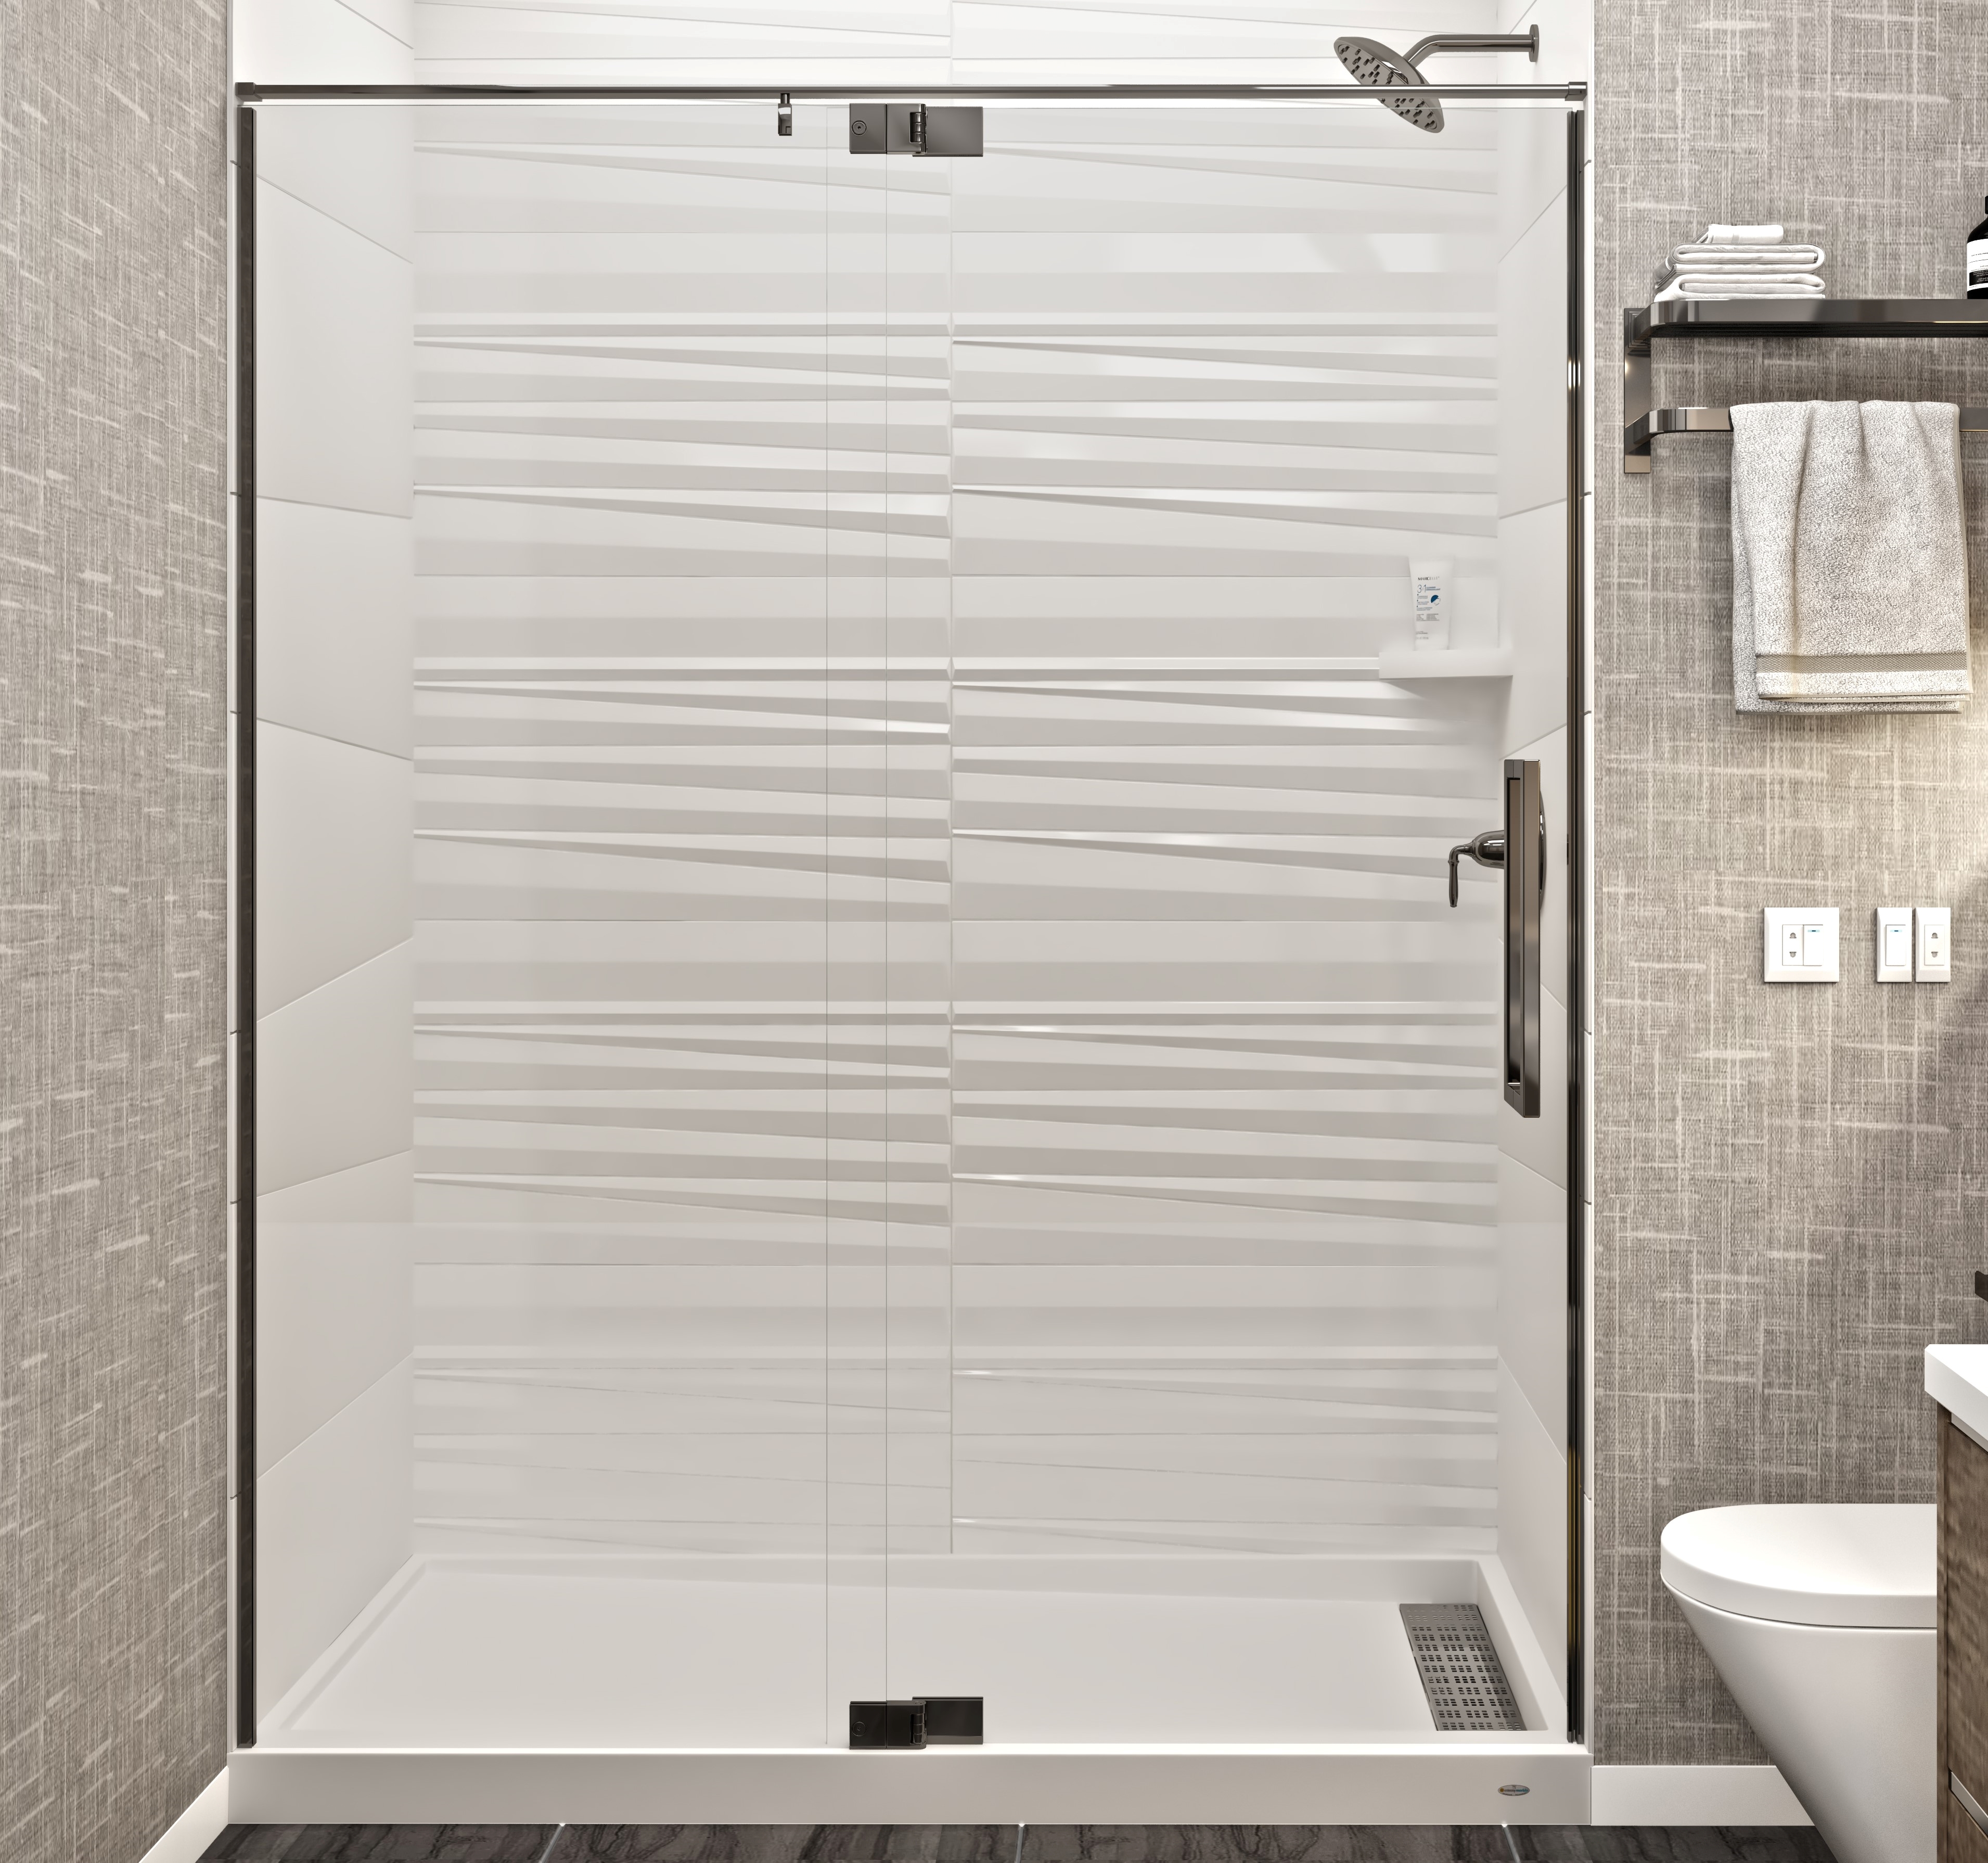
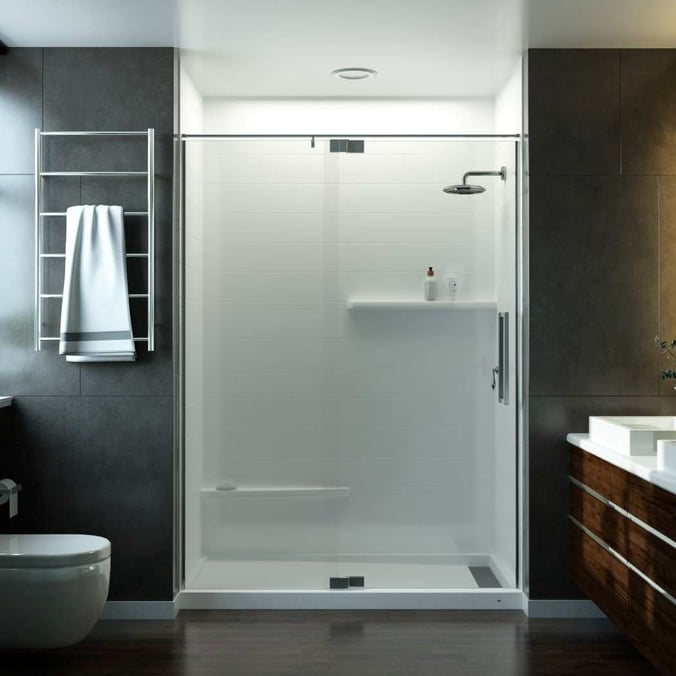
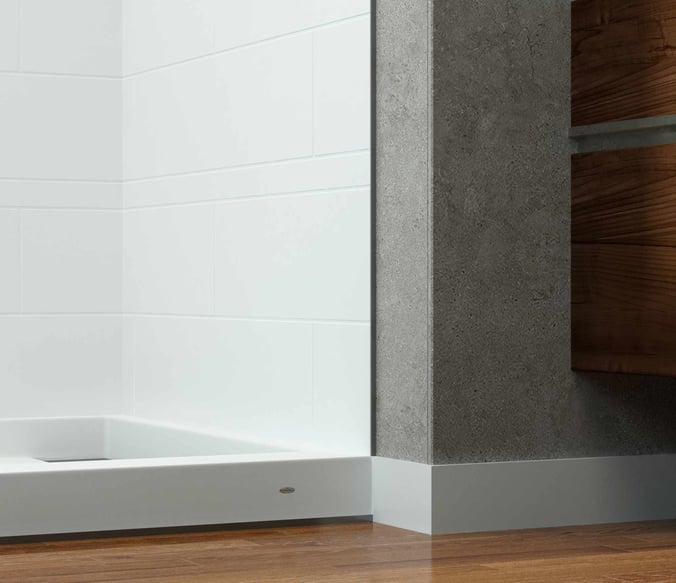
Will your shower panels go all the way up to the ceiling? Full-length panels give the bathroom a more polished and complete look (see for yourself 👇). They can also create the illusion of a larger shower.
Most Mincey panels are at least 96 inches tall (reaching most ceilings), with some even taller. The actual height will vary based on the design you choose. Be sure to measure the floor-to-ceiling height for showers, and for tubs, the height from the top of the tub to the ceiling. If plans don't call for such tall panels, they can always be cut to your specifications onsite.
Step 3: Measure for Panel Sizes
Determining panel sizes is pretty simple - just measure the back wall and side walls. It might even be a good idea to do this before you start looking at designs. Most patterns offer molds of the same size, but some do have variations. In order to avoid excess waste, be mindful of the sizes available. We can help you with this!
In most cases, you’ll only need one panel for the back wall (it can't get much simpler than that!). However, if you need material for a shower wider than 62”, the back wall will typically need two panels. We often get asked, "Why don't you make the panels bigger to fit larger showers?" The answer is simple - they won't fit through the typical bathroom door!
Mincey has many patterns that fit a shower requiring two back panels. For example, Herringbone includes a listello (a band or border) for showers larger than 62". In this scenario, the 44" and 28" (w/listello) panels should cover a 72" back wall. Our popular 3x6 Subway design includes a panel that is 98" wide! Our textured Vertical Vision wall panel can also work with a larger shower when you install the 50" and 22" (w/listello) back panels.
Step 4: Order Trim
Mincey is proud to include finished edges on all our panels (one more way we make installation easier!); however, many customers still choose to add trim. If your goal is to achieve a realistic tile look, metal trim is a great option. Its clean, contemporary design complements our tile patterns, giving the whole shower a polished look.
Sometimes site conditions call for a thicker trim. This often happens during renovations, for which cast marble trim is used to cover any original material. Metal trim is simply not thick enough to cover imperfections and other material that are so common in renovation projects.
When ordering trim pieces, remember they should be the same height as the shower panels. Most cast marble pieces are two inches wide, ranging in thickness. We find that the 2 x 96 x ¾ trim (TR-02) suits most installations.
Step 5: Don't Forget Color-Matching Caulk
After the panels are installed, your crew will need 100% silicone to caulk where marble meets marble. This includes where the back and side panels meet in addition to where the panels meet the shower pan. You can order this custom-matched caulk from MBI (not associated with Mincey Marble).
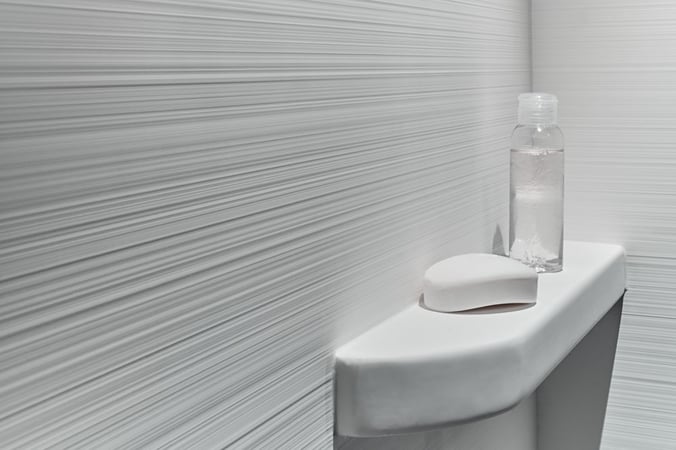
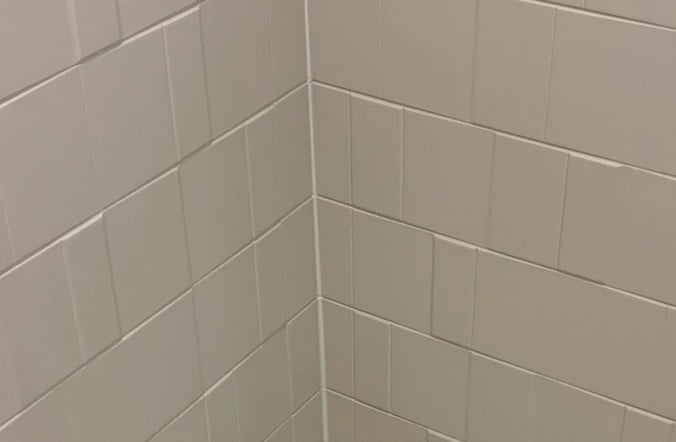
It’s important that the caulk and panels are the same color - otherwise, your joints will stick out like a sore thumb (see below👇).
It's Time to Order Your Shower Wall Panels!
That's it! No grout, no specialized tools, no waterproofing to order.
Now that you're ready, it's time to request a quote. When you contact our team, send us 1) your shower dimensions (back wall, side walls, and desired height) and 2) the number of showers to be installed. If you already have a pattern in mind, please share that with us too! We can also suggest the patterns that make the most sense for your space. Our team can usually send you a quote within 1 to 2 business days.
Ready to get started? Request a quote or product sample today!